
7 DIY Projects to Improve Your Home
If you're looking to spruce up your living space but don't want to break the bank, DIY home improvement projects are a great place to start. In this blog post, we'll share seven easy and affordable projects that you can do yourself to improve your home's look and feel.
After you've finished with the interior, read Curb Appeal Matters to discover simple ways to impress your neighbors, guests, and prospective buyers from the streetview.
#1 - Painting Your Home Interior
How Color Sets the Mood
Choosing the right paint color can set the mood or atmosphere throughout the interior of your home. Bright, bold colors can be energizing, while neutral tones are more calming and relaxing. When selecting a paint color, consider the size of the room and the amount of natural light it receives. This will help you choose a color that makes the room look airy and open.
The color of the paint can also be affected by the existing furnishings in the room. If you’re painting a bedroom, consider how the paint color will look in contrast with the bedding, curtains, or other decor. Some colors look different depending on the light source – natural light during the day vs. artificial light at night. You’ll want to test the color in the room before committing to it.
The Effects of Paint Finishes
Paint finish is just as important as paint color. Flat finishes are best for low-traffic areas like bedrooms and formal living rooms, while eggshell is a good choice for walls that get more wear and tear. Satin finishes offer a bit more durability, making them a great choice for kitchens and bathrooms. Semi-gloss finishes are the most durable and are often used for trim and doors.
Keep in mind that each type of finish will have a different sheen. Flat paint has no sheen, eggshell has a slight sheen, satin has a moderate sheen, and semi-gloss has a high sheen. Be sure to test the finish in the room before committing to it.
Tips for Painting Interior Walls
We’ve gathered a few tips to help you get the best results:
Start at the top and work your way down so you don’t miss any spots.
Use a brush for corners and edges, and a roller for larger surfaces in order to achieve a smooth finish.
Go easy on the paint. Too much paint can cause drips and runs.
Allow the paint to dry completely before applying a second coat.
When you’re finished, clean your brushes and rollers with warm, soapy water.

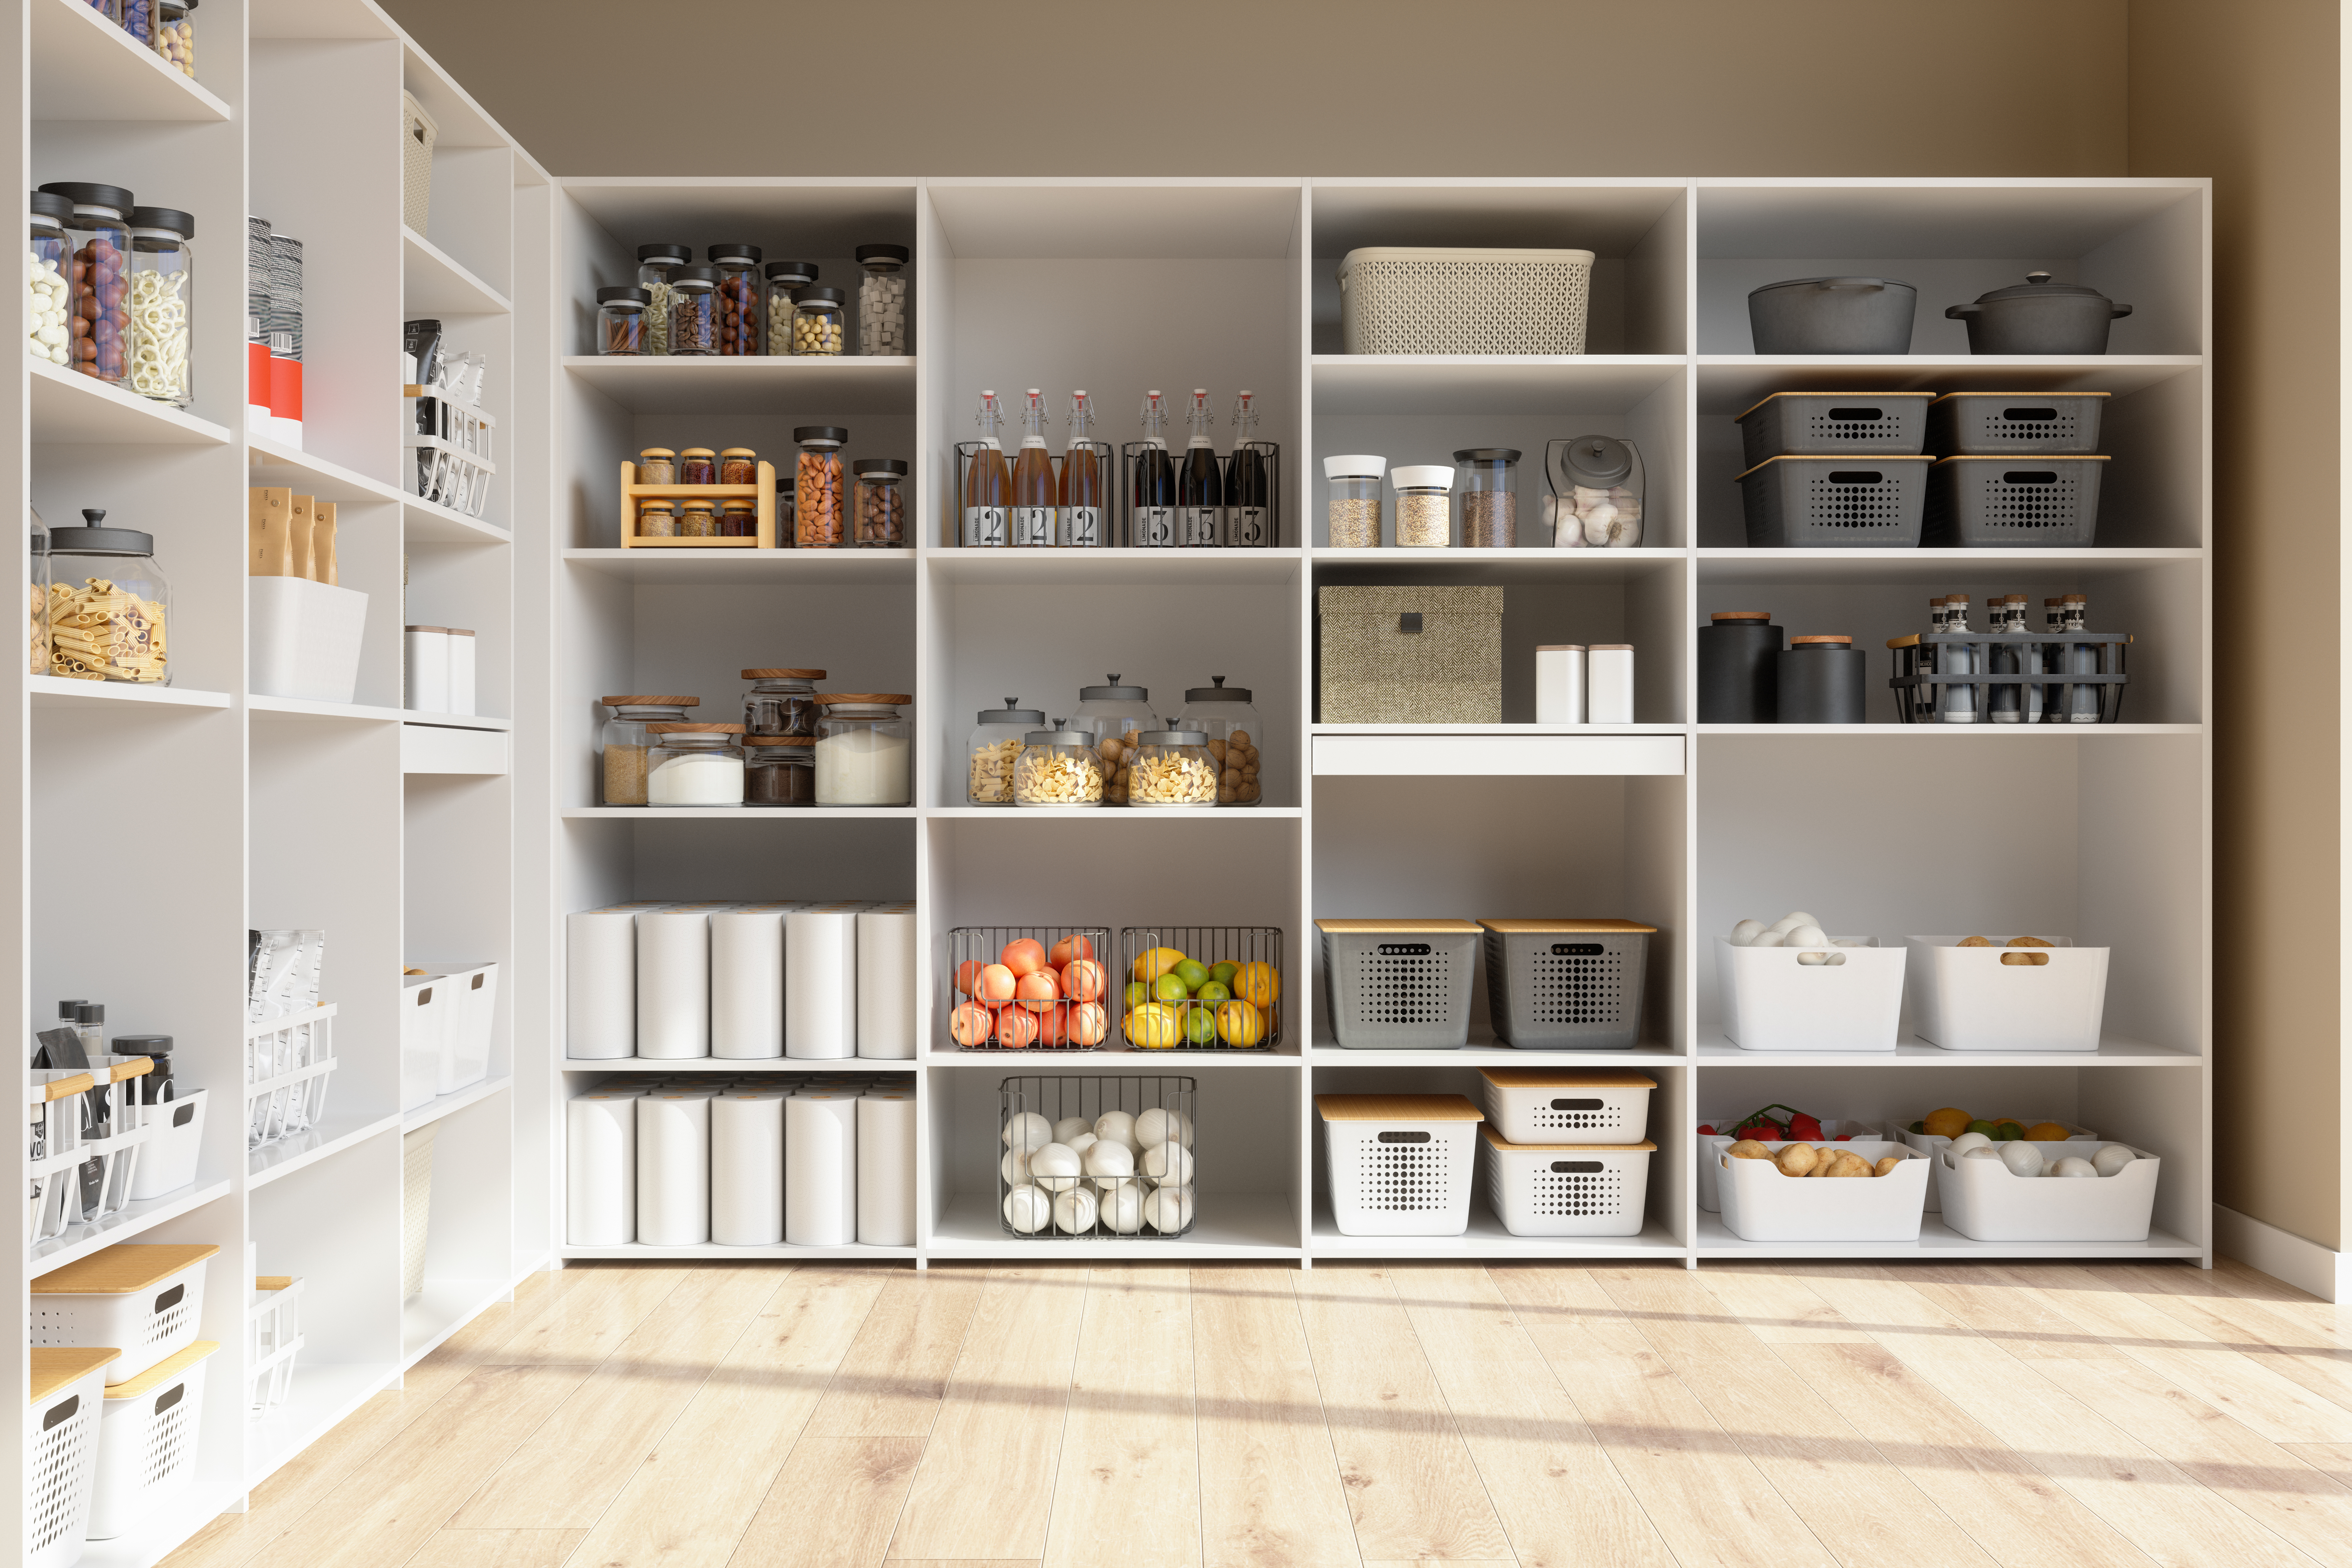
#2 - Upgrading Your Flooring
Discussing Flooring Options
There’s a variety of options when it comes to modernizing the floors in your home, such as hardwood, laminate, tile, vinyl, or carpet. Consider your budget, the level of traffic in the room, and the overall style you’re trying to achieve.
Hardwood floors are timeless and add a classic, elegant touch to any room. Laminate flooring is a more budget-friendly option that can replicate the look of hardwood without the cost. Tile is a great choice for areas that get wet or muddy commonly, such as the kitchen or bathroom, and can be easily cleaned. Vinyl is also a low-maintenance option that is great for high-traffic areas. Carpet is practical for bedrooms or offices as it reduces noise levels while adding warmth and coziness to the room.
Gathering the Right Supplies
Once you’ve chosen the flooring you want to install, it’s time to gather the supplies you’ll need. Depending on the type of flooring you’ve chosen, you may need to purchase additional supplies to ensure a successful installation. For example, if you’ve chosen to install hardwood flooring, you’ll need to purchase felt paper, nails, and a hammer to complete the installation. If you’ve chosen to install tile flooring, you’ll need to purchase tile adhesive, grout, and a trowel. Make sure to research the type of flooring you’ve chosen to ensure you’re purchasing all of the necessary supplies.
It’s also important to make sure that you have the necessary tools for the installation. Depending on the type of flooring you’ve chosen, you may need a miter saw, a jigsaw, an orbital sander, and/or a drill. If you’re not comfortable using these tools, you may want to consider hiring a professional to do the installation for you.
Tips for Installing New Flooring
If you’re installing hardwood flooring, make sure to use the appropriate nails and hammer to avoid damaging the floor. If you’re installing tile flooring, make sure to use a trowel to spread the adhesive evenly.
Caring for Your New Flooring
Once you’ve completed the installation process, it’s important to make sure that you’re taking proper care of your new flooring. Depending on the type of flooring you’ve chosen, there may be different tips for keeping it looking its best. For example, if you’ve installed hardwood flooring, it’s important to make sure that you’re cleaning it regularly and avoiding moisture. If you’ve installed tile flooring, it’s important to make sure that you’re using the appropriate cleaning products to avoid damaging the grout. Make sure to research the type of flooring you’ve chosen in order to learn the best way to care for it.
#3 - Updating Kitchen Cabinets
Cabinet Design & Materials
Think about the size of the space, the shape of the room, and the overall style you are aiming for. Look at different cabinet styles and materials, such as wood, laminate, and metal, to find the one that best fits your room’s look and feel. Sometimes just switching out the hardware can do the trick. Trade in new handles or knobs to feel like the kitchen was updated without breaking the bank.
Tips for Installing New Cabinets
Make sure to measure the space carefully before you begin, and use a level to ensure your cabinets are installed correctly. If you’re installing the cabinets yourself, it’s also a good idea to get a second set of hands to help you with the installation process. Finally, make sure to use the appropriate screws and fasteners to ensure your cabinets are securely attached to the walls.
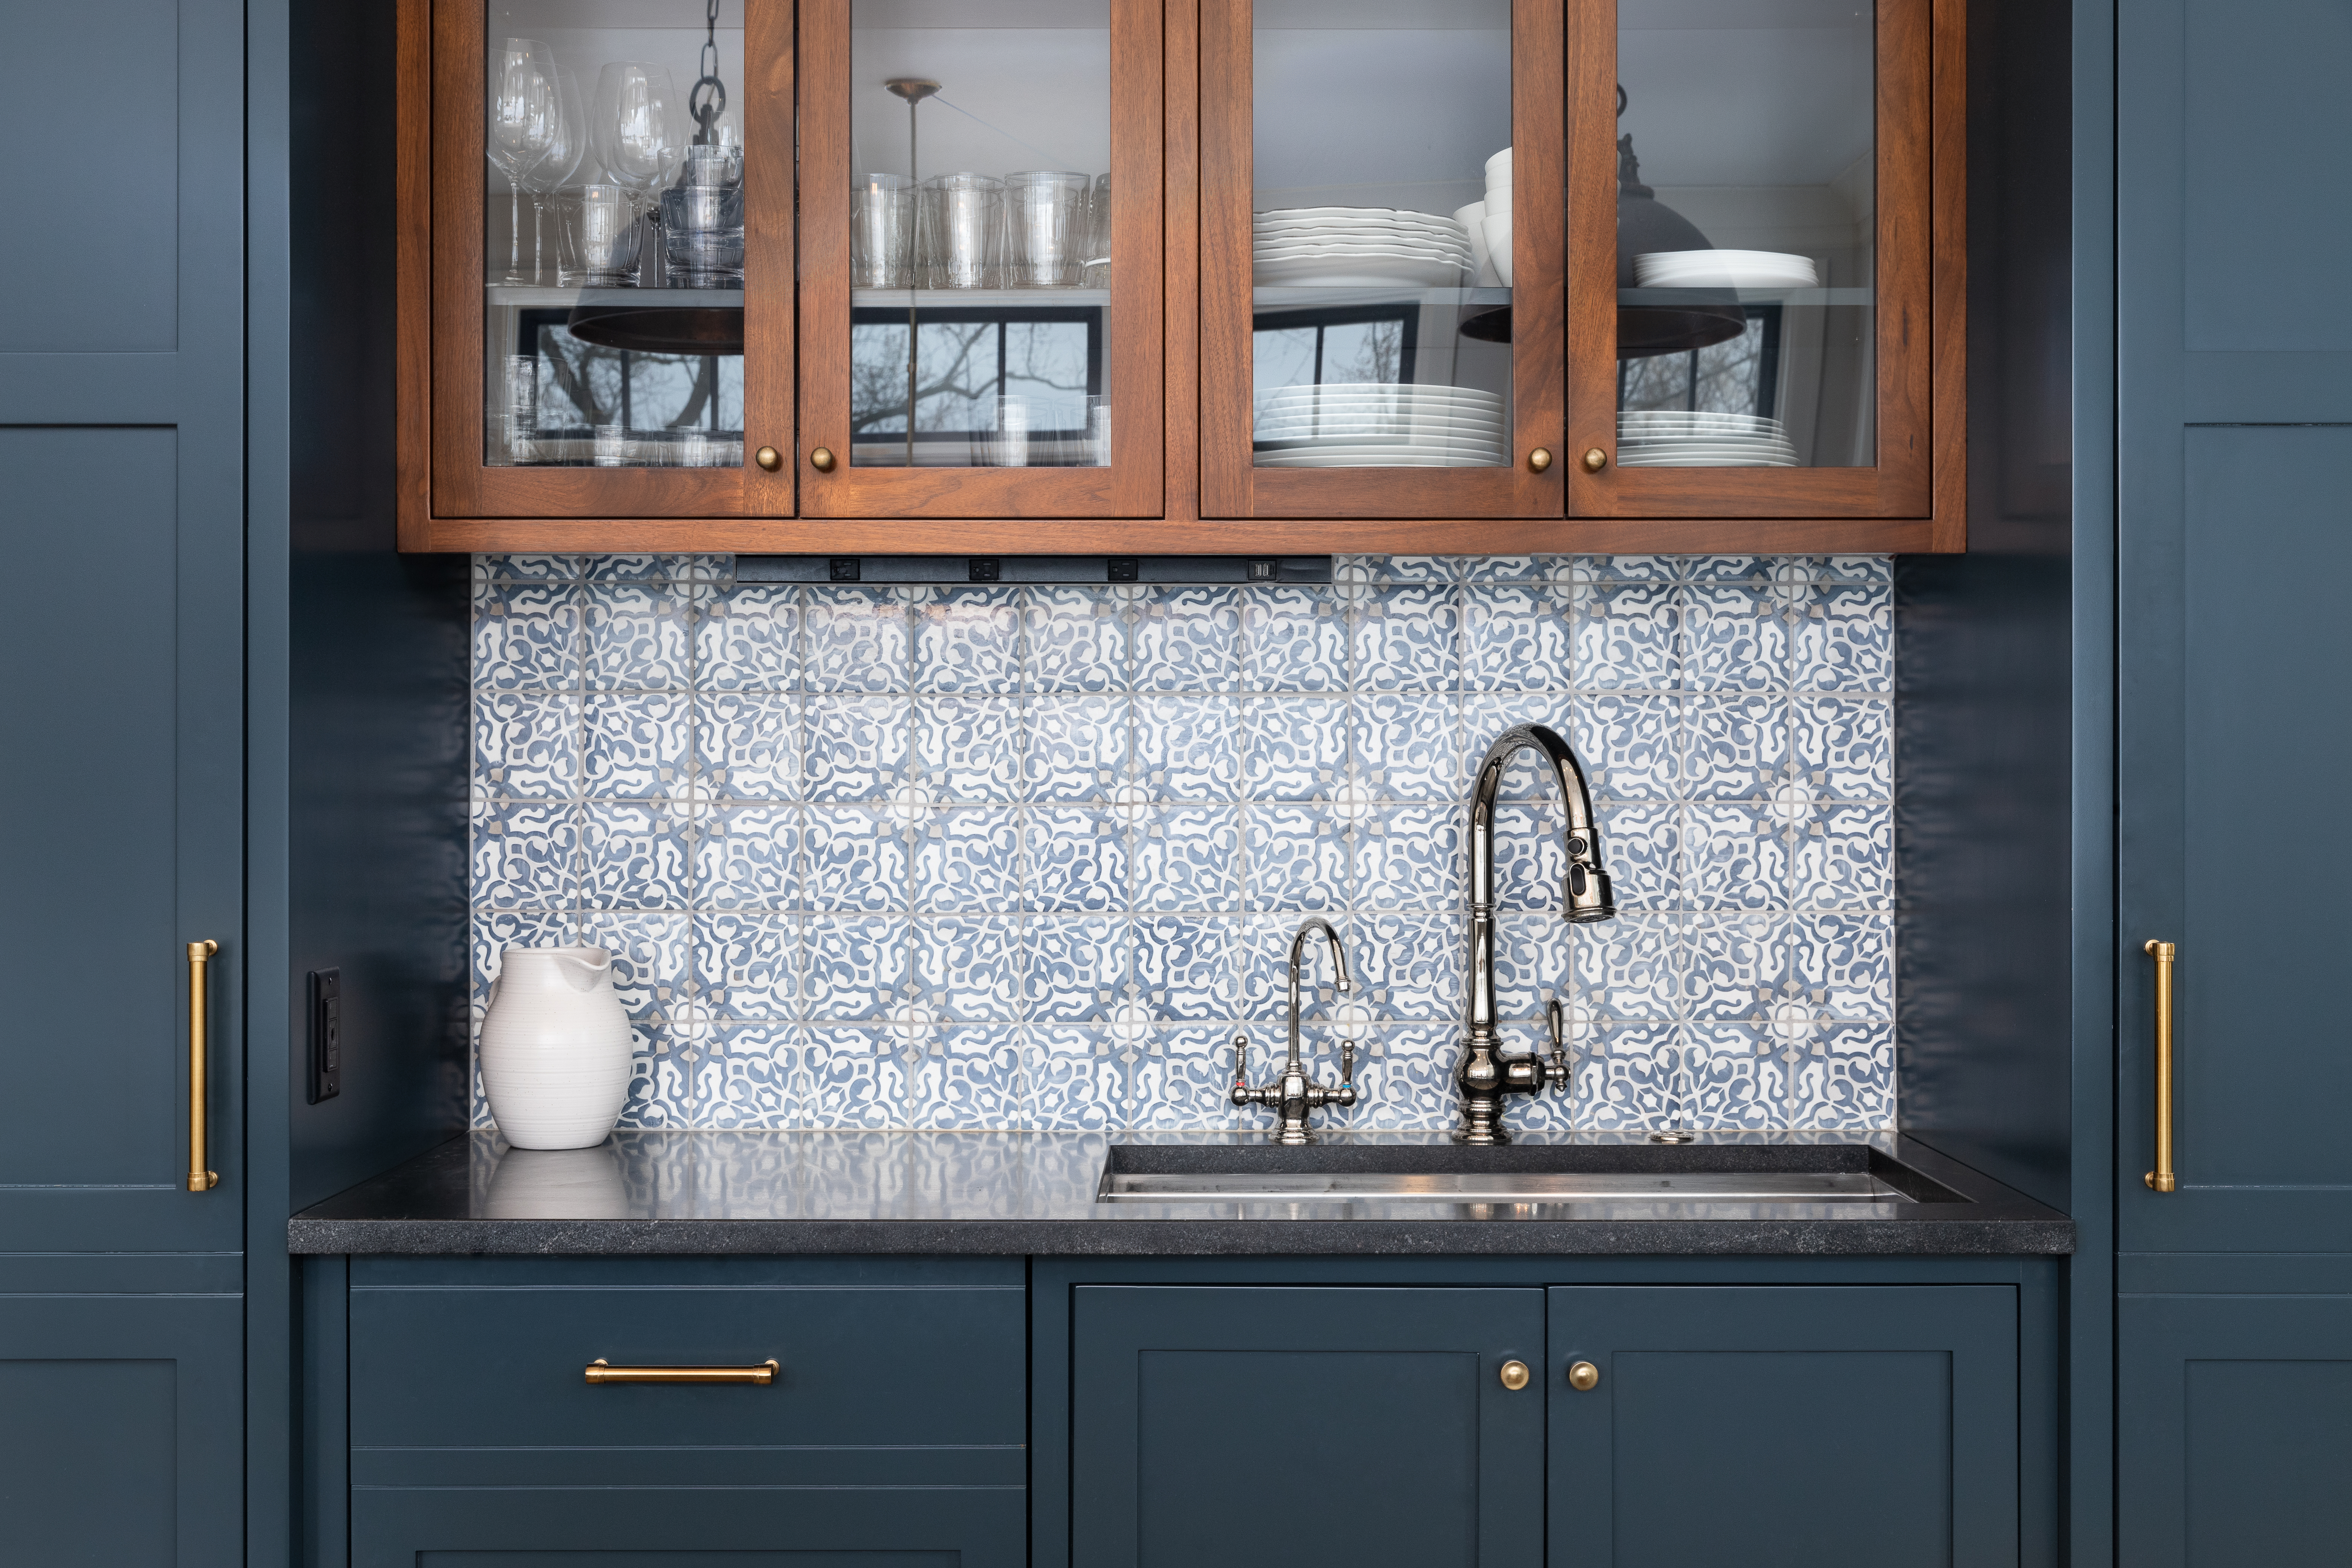
#4 - Installing a New Backsplash
Backsplash Styles & Trends
From ceramic tiles to natural stone, changing your backsplash is a subtle way to give your kitchen a whole new feel. Ceramic tiles are an affordable and easy-to-install option, while natural stone (like granite or slate) adds a unique touch but may require more specialized installation. Consider the overall aesthetic of your kitchen and choose the backsplash that best suits the room.
Glass tiles or subway tiles are both moving up in these year’s trends. They’re modern yet easy to maintain. No matter what material you choose, make sure to measure your space before you purchase the materials to ensure a perfect fit.
Peel and stick backsplash tiles are the perfect renter-friendly solution, or even if you’re just looking for an impermanent way to follow trends every few years. As long as they’re sealed and waterproofed, you’ll prevent damage from spills or splashes.
Top 5 Reminders for New Backsplashes
Purchase a sealant or waterproofing product to protect the tiles from moisture and staining (if installing glass or natural stone tiles).
Clean the wall surface to ensure the tiles will adhere properly
Let adhesive dry for 24 hours before grouting.
Avoid using any abrasive cleaning products that can damage natural stone tiles.
Stay away from harsh chemicals like bleach that can discolor grout.
#5 - Installing a New Countertop
What to Ask When Choosing a Countertop Material
This idea could be one of the most expensive on the list, so figure out how much you can afford to spend beforehand. Some materials are more resistant to wear and tear than others, so durability is a huge factor. If you’re going to spend the money to upgrade, you want the countertop to last a long time. A couple questions to keep in mind while shopping for your material:
Is it easy to clean?
Do smudges show up easily on it?
Can it be damaged by abrasive cleaning materials?
Is it heat resistant?
Does is scratch easily or can it be used without a cutting board?
#6 - Installing New Lighting
Envision the room with your desired lighting effect in mind. Ambient lighting is popular in living rooms or bedrooms, which you can achieve with ceiling fixtures or wall sconces. If you’re looking for task lighting, then you might opt for a pendant light or a small desk lamp.
This is also a great opportunity to switch to energy efficient or smart lighting. Not only could you upgrade your home’s aesthetic, but it’s a chance to conveniently set timers and save on energy bills.
Safety Reminders
With bigger light fixtures, it’s sometimes not as simple as just replacing a bulb. Make sure you follow instructions precisely and have the right tools on had. Make sure to turn off the power before you start working, and use a voltage tester to make sure the wiring is safe. If you’re installing a ceiling fixture, you should also have a stepladder or a tall ladder on hand. You’ll also need a helper to make sure the fixture is properly placed and secure. If you’re not comfortable working with electricity or are working on your own, it’s best to call in a professional.

#7 - Upgrading Your Windows
Choosing the Right Window Design
Size, style, climate, and budget are all reasonable influences, but the amount of lighting you get and the level of privacy you need are the real determinants here.
Different types of windows offer different benefits and the right window can help you save energy and money. It's also important to make sure the window you choose is energy-efficient and meets the current building codes. Especially if you live in an older home or have poor insulation, installing energy efficient windows can reduce the amount of heat loss in your home, thus lowering your utility bills and expenses.
Gathering the Right Supplies
When it comes to installing new windows, it's important to have the right supplies. This includes the window itself, shims, caulk, insulation, weather-stripping, and screws. Before you start the installation, make sure you have all the supplies you need. If you're not sure what supplies to get, it's always best to consult a professional who can help you choose the right supplies for your project.
When you're ready to start the installation process, make sure you have everything you need. This includes safety equipment such as goggles, gloves, and a dust mask. It's also important to make sure you have the right tools for the job, such as a drill, a saw, a level, and a hammer. Having the right tools will make the installation process much easier and more efficient.
Caring for Your New Windows
Once your new windows are installed, it's important to take proper care of them. This includes cleaning the windows regularly and inspecting them for any damage. If you notice any damage, it's important to have it repaired as soon as possible. Regular maintenance will help keep your windows in good condition and prevent any further damage.
It's also important to check for air leaks and make sure the windows are properly sealed. Check the weather-stripping and caulk regularly and replace any damaged or worn out weather-stripping. Lastly, make sure to inspect the windows for any signs of condensation or water damage. If you notice any, it's important to have it repaired as soon as possible. Proper care and maintenance will help ensure your windows last for years to come.
Conclusion
Even opting for just one or two items on this list can make a world of difference. These DIY home improvement projects can not only increase the functionality and comfort of your home, but also boost the property value. To learn more about your property’s market value, read Quick Guide to Track Your Home’s Value in 3 Steps. By taking on these projects, you can save money, learn new skills, and ultimately enjoy the satisfaction of improving your living space on your own.
Find your dream home today at unrealestate.com/search. If you're ready to sell, visit unrealestate.com/sell.
We'd love to hear your thoughts about this article and our blog. Let us know how we did by completing the Unreal Estate Blog Feedback Survey.

Updated January 2023: By using this website, you agree to our Terms of Service, and Privacy Policy.
Unreal Estate holds real estate brokerage licenses under the following names in multiple states and locations:
Unreal Estate LLC (f/k/a USRealty.com, LLP)
Unreal Estate LLC (f/k/a USRealty Brokerage Solutions, LLP)
Unreal Estate Brokerage LLC
Unreal Estate Inc. (f/k/a Abode Technologies, Inc. (dba USRealty.com))
Main Office Location: 991 Hwy 22, Ste. 200, Bridgewater, NJ 08807
California DRE #01527504
New York § 442-H Standard Operating Procedures
TREC: Info About Brokerage Services, Consumer Protection Notice
UNREAL ESTATE IS COMMITTED TO AND ABIDES BY THE FAIR HOUSING ACT AND EQUAL OPPORTUNITY ACT.
If you are using a screen reader, or having trouble reading this website, please call Unreal Estate Customer Support for help at 1-866-534-3726
Open Monday – Friday 9:00 – 5:00 EST with the exception of holidays.
*See Terms of Service for details.

© 2023 Unreal Estate Inc. All Rights Reserved.
